Over the last few years, video has become king of content. Everywhere you turn companies are finding new ways to make their products pop, including alluring product videos.
Remember way back when – you know, like two years ago – when products just had a bunch of pictures? Those days are history.
Using videos to market your product and brand is a great move. People engage with video easily and it evokes powerful responses. Think about how many times a sweet YouTube video has made you tear up or a TV ad has convinced you to buy a product.
An Animoto survey found that 96 percent of consumers find video helpful when making purchases, with 73 percent saying they’re more likely to buy an item after watching a video explaining the product. Pretty compelling stuff.
Product videos can be used in advertising, across social media channels, on your product pages, and linked to from emails. They’re an opportunity to grab the attention of potential buyers and give them another reason to trust and choose your product over others.
Videos used to be difficult to make without a skilled team and specialist equipment. Today we have access to all the tools we need thanks to smartphones and free video editing programs. These tools, combined with some time and effort, can produce amazing results that will elevate your store and brand to the next level.
Making product videos can feel daunting, so to help you take your first steps I’ve prepared this guide to take you through the process of making short, simple, and snappy videos that will capture attention.
Let’s get started.
Post Contents


Choose a Format and Approach for Your Product Video

Before you start yelling “action” there are a few things you should think about to help you get the most from your videos
→ Click Here to Launch Your Online Business with Shopify
Where is this Product Video Going? What is its Purpose?
Where do imagine you’re going to use the video you’re making and who is going to be watching? You might have multiple uses for your product video, but picking the most important place or platform will help shape how it’s constructed.
Think about where in the customer journey your viewer will be. If they’re watching a video on Facebook or Instagram they probably don’t know your brand. However, if they’re watching on your website they’re likely interested in your product and are considering whether or not to buy it. So, rather than using the same video for ads and product page, make different ones that appeal to the different stages.
Do you want to make a video specifically for advertising and awareness? Highlight your brand and products, and be captivating. Will it appear on a product page? Be sure to show off all your item’s features and how useful it is.
What Do You Want this Video to Look Like?
Spend some time forming a clear idea of what your final result should look like. You’ll want to keep things consistent, sticking with one theme and not overloading your video so it feels disjointed.
Find inspiration from competitors and other brands. Browse social media or check websites to see what they’ve created. Engage with the ads that appear on your Facebook or Instagram feed so the algorithms will show you more advertising – it’s all market research.
Have a sense of who would buy your product, how they might live, and where they might go. Videos that show certain environments or lifestyles can encourage people who value those things to purchase your product. For example, someone buying yoga pants might live an active lifestyle and enjoy being outdoors. Showing this in your ad will demonstrate how your yoga pants are the perfect fit for them.
What Style of Video are You Aiming For?
While shooting an all-out narrative-driven, emotional video might be above your current skill set (and mine!), decide on a style that you think you’ll be able to nail. Here are a few quick ideas:
- Images stitched together into a video. A really simple concept but once you add music or text the overall effect is great. A good idea for quick ads or social posts
- Short, looping videos. A lot like an Instagram Boomerang or GIF, these snappy little numbers let you capture a handful of seconds. You could even repeat the GIFs a number of times, creating a video that solely consists of the sam few seconds repeated.
- A scrolling screen capture. Got a long product page? Record your screen as you scroll down your products, crop out unneeded parts of the screen, add some text and boom, your ad is done.
- Demonstration video. Show off what your product looks like in the real world. Perfect for product pages, these don’t need to be long but they should give customers an idea of what your product looks like and any features it has.
- Review videos. These are great for social media and building trust in your product and brand. Film yourself (or someone else) reviewing or unboxing your product. Highlight both the good and bad features (though preferably more good than bad!) – it will help make the video believable and let customers make an informed choice.Write Down the Plan for Your Product Video
Write Down the Plan for Your Product Video
The last thing you want to do is dive into filming without a game plan. Scripting, sketching, or storyboarding the plan for your video is a smart move, so you can properly prepare where and how you want the shots to look. If you don’t do this, at least have a strong idea in mind of what you want the finished product to look like.
You should also decide on a location that suits your video and product, taking into account things like lighting and ease of filming in that particular place.
A few simple ideas for first time video making could be the floor, a table, or against a wall. For a more urban look try a crosswalk, a busy street, or a metro station. And, if you’re aiming for an outdoors vibe, head to the local park, your own backyard, or a local lake or beach.
While the setting is important, avoid anything that will distract from your product. The last thing you want is that adorable dog at the park stealing the show.
Quick Tips:
- Use a tripod. Keep your shots steady and looking professional with a tripod. If you don’t have one at least find a way to steady your camera so there’s no movement (I used a stack of books).
- Don’t use your phone’s zoom feature. Phone cameras tend to use digital zoom which makes everything grainy. Instead, just move closer to keep your shots looking crisp.
- Think before shooting vertically. Generally, you should try and film your video horizontally – you can always edit your video later but you can’t undo vertical filming. However, if vertical images or footage is what your video calls for, go for it.
- Be mindful of lighting. You don’t need fancy lighting to shoot a video but be sure not to film looking directly towards the sun or a bright window, as your subject will end up a silhouette. Instead, try to film with your subjects facing the light source.
- If you’re including audio, use a microphone or second phone. Rather than using one phone to both film and record audio, set up a microphone or second phone closer to your subjects to capture high quality audio (the voice memo function works well). Then, sync the audio and visual together during editing.
Choose Your Editing Software or App

So, you’ve got a bunch of pictures and videos – now you need to stitch it all into one video. Luckily there are a lot of free and easy-to-use video editing programs and apps to help you out. If you’re new to editing, try to find a program that has tutorials online so you can find help if you get stuck.
Here are a few that might work, depending on what you’re editing with:
Mobile: Quik
Made by GoPro, this free app takes videos and images in your phone’s gallery and automatically edits them into a video – perfect if you need a video quickly. It also allows you to manually edit what it created so you can be sure it matches the look you’re going for.
Mac: iMovie
Free to all mac users, iMovie keeps things simple, making it easy for beginner editors. Plus, there are plenty of iMovie tutorials online to help you if you get stuck.
Windows/Linux/Mac: OpenShot
This open source editor is available for free, regardless of operating system. It’s simple to use but still powerful enough to produce quality videos you’ll be happy to show off.
Example 1: Creating a Simple Video Ad

First, I planned the images I wanted to use. Instagram Story ads can be up to 15 seconds long – I didn’t want mine to be that long, but I did want to be sure I had enough potential images.
I wanted photos that would show my product, the different colors available, and how it looked when worn. I also decided to include a couple of pictures of cats for good measure, because I didn’t have a cat model on hand, I chose some free stock images

Using iMovie, I started to edit the video, importing the audio and 13 of the best pictures I took – plus those of the cats and a title card I made in Canva. I trimmed the length of the image to try and fit with the beat of the music – around 0.5 seconds for most.
I added a title card to the end of the video so the brand name and logo is the last thing viewers see. Because this video is for Instagram Stories, the brand’s name and logo will appear in the top left corner, so I decided not to add this anywhere else except the final frame.
After I downloaded the finished iMovie video, I used Kapwing to resize the video for Instagram Stories (though, you can’t tell that in the YouTube version below).
Here’s the final result:
It’s nothing fancy and could be more polished, but it shows my product, it’s a bit fun, and it didn’t take long to create. All in all, creating the video took around an hour and a half from start to finish, and that included watching a couple of iMovie tutorials.
Example 2: Creating a Product Video

I thought about what a customer watching this video would want to know and settled on a video of someone interacting with the bag and showing its features. I wanted to demonstrate the features of the fanny pack, how versatile it is, and its size. The video would help to back up my written product description which would be directly above the video on the page.
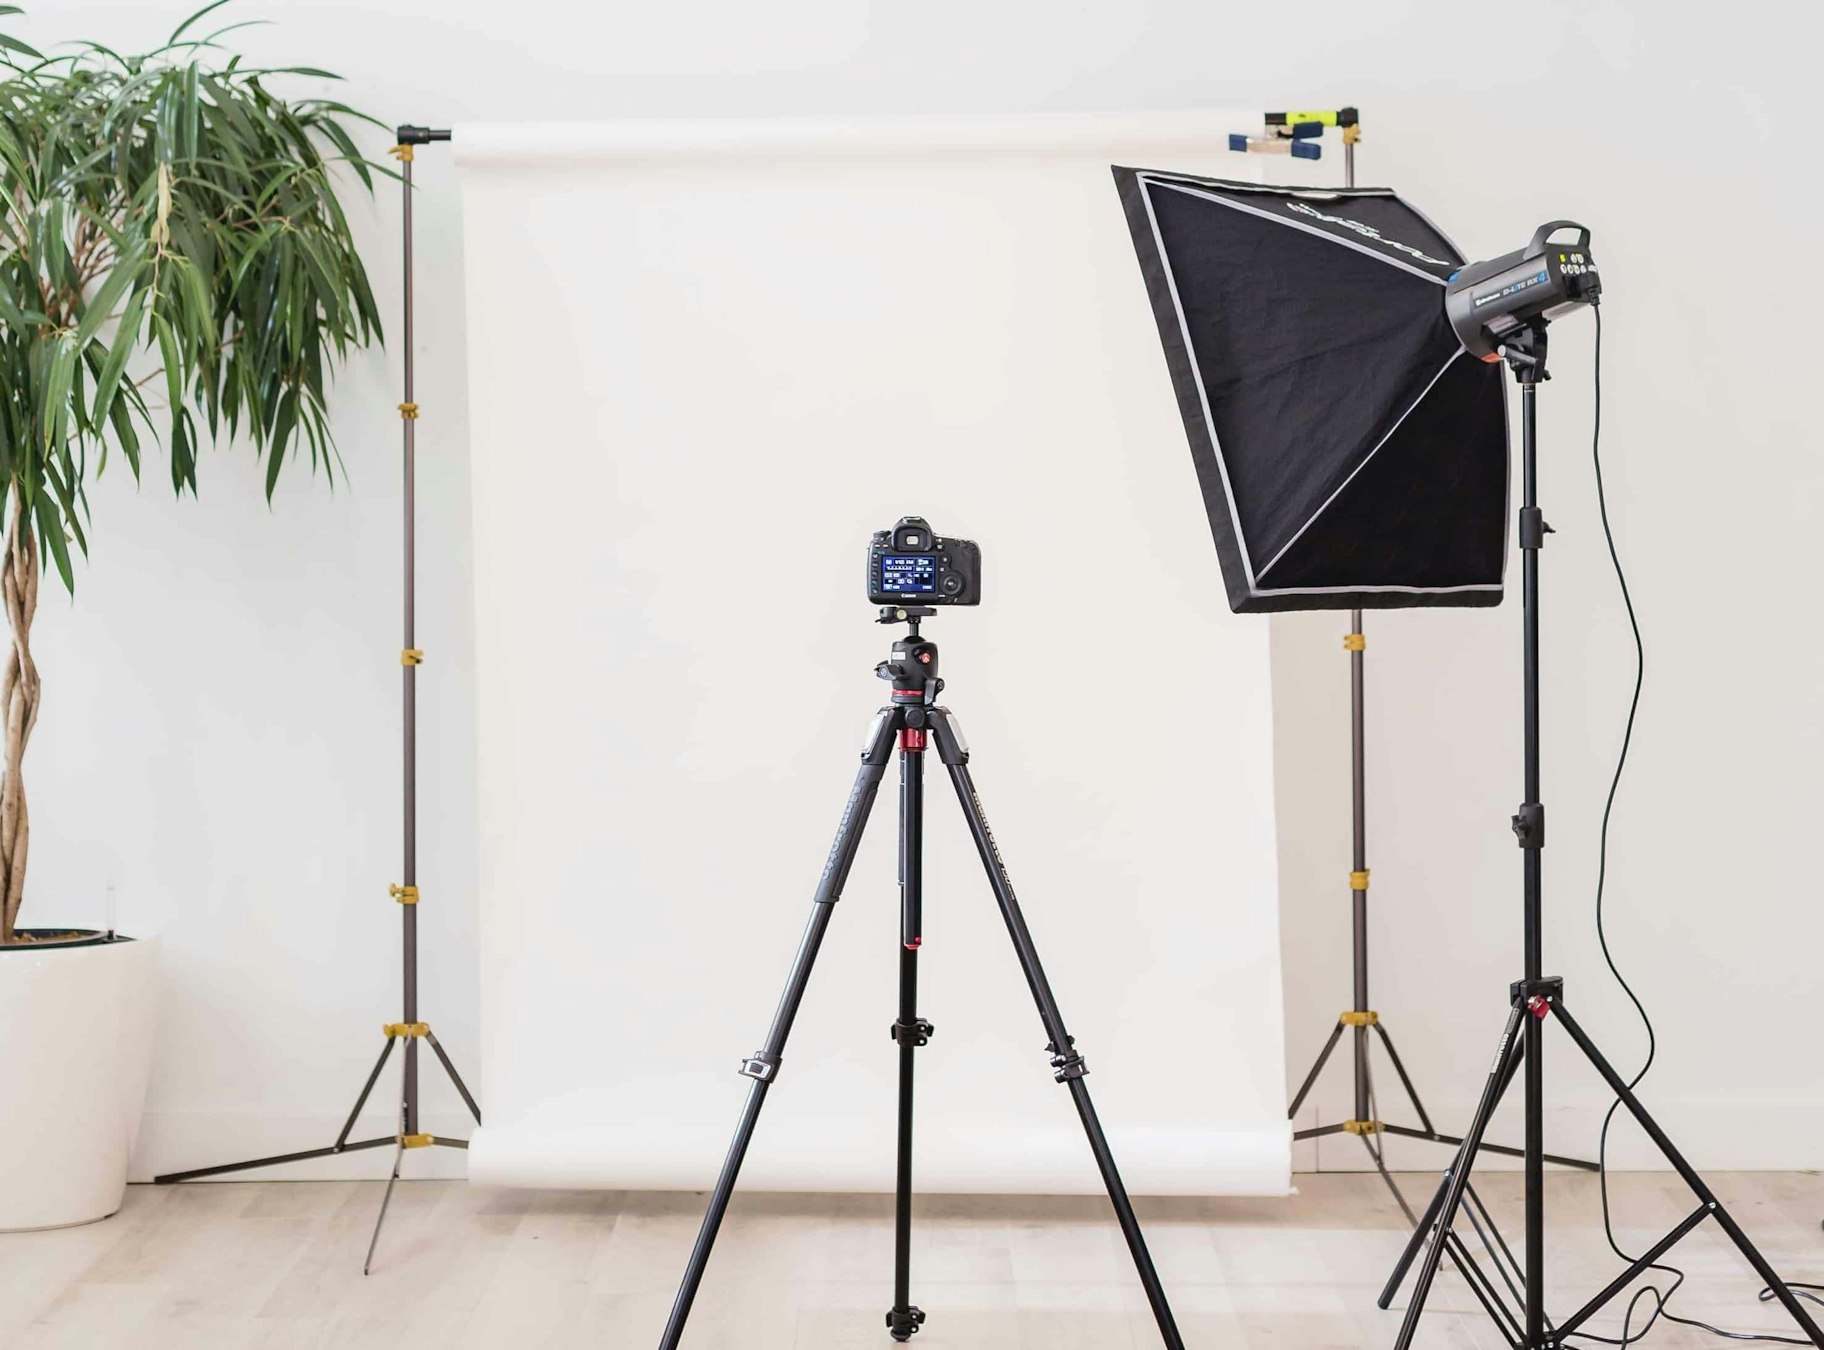
When I shot my video I wanted to do it in a light, bright environment. I set up a camera facing a white wall and filmed all footage at the same time to keep the video looking consistent.

I also added in title cards with details that I wanted to highlight. iMovie let me include text on title cards but I couldn’t find a way to insert my logo. Instead, I made them in Google Slides, took a screenshot, and inserted them to the video as images. Hey, sometimes you’ve got to get creative and find a workaround.
Unlike the Instagram video, this time I chose music that I didn’t think would detract from the video or turn buyers off.
Take a look at the finished product:
Again, I’m not likely to win an Academy Award anytime soon but I stuck to what I was capable of and the result is still a video that fits what I wanted. It clearly shows what the bag looks like, its features, and how it looks when worn in different ways – all details that customers want to know.
Start Filming Your Own Product Videos
So there you have it, a step-by-step guide to filming your own product videos for your brand.
Feeling inspired? Good – now it’s your turn!
Get out there and start filming. Don’t be discouraged if it takes time to find what works or editing is difficult, these are all things that get better with practice.
In fact, if you’re anything like me there might be a couple failed attempts before the final product but that’s all part of the creative process, so enjoy it.
If you’ve been motivated to make your own product videos by this article, or you have questions about how to go about it, let me know in the comments below.